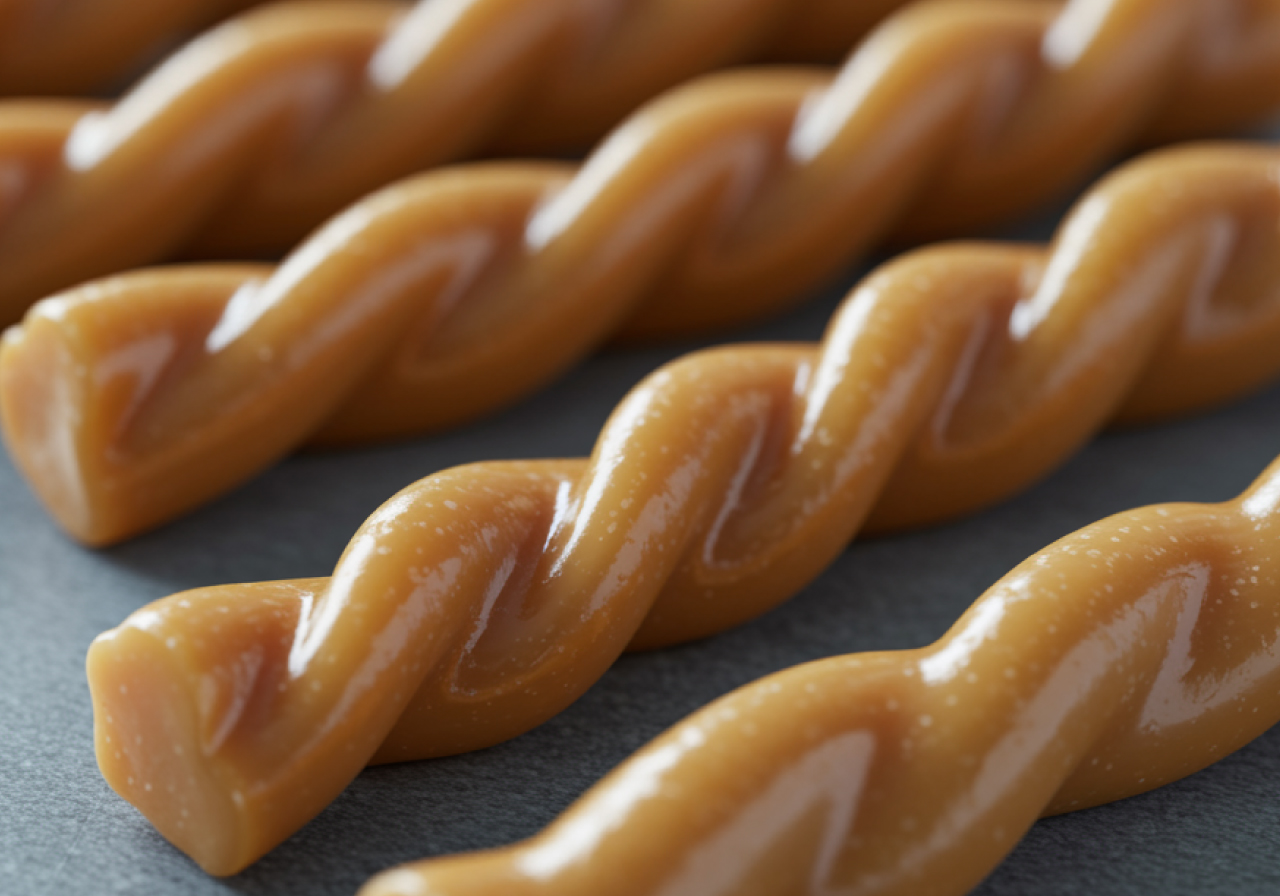
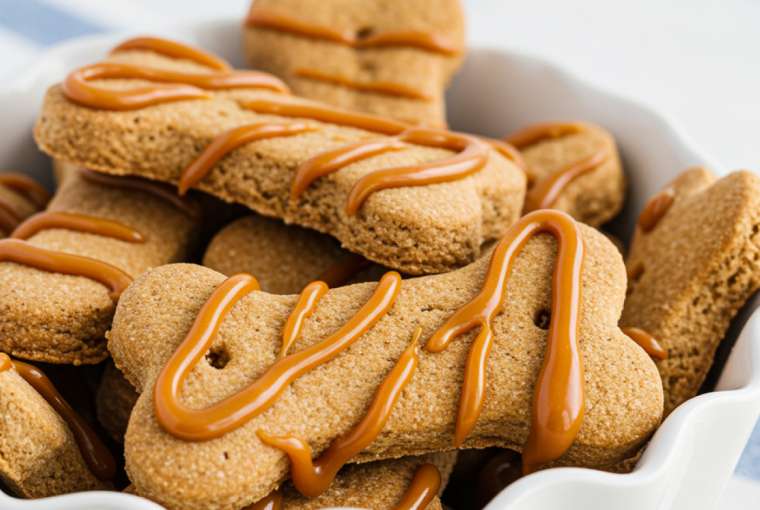
When I first noticed my dog constantly chewing on shoes and furniture, I realized he wasn’t being naughty—he just needed something safe and satisfying to chew on. Chewing is natural for dogs, but without the right outlets, it quickly becomes a problem for us. That’s when I started looking for a healthier, homemade solution that would keep him happy and also support his health.
Peanut butter and pumpkin turned out to be the perfect combo. Peanut butter gave the treats a flavor my dog couldn’t resist, while pumpkin added nutrients and made the twists easy to digest. Instead of worrying about store-bought chews with hidden additives, I felt better knowing exactly what was in these twists. It gave me peace of mind, and my dog got a treat that was both fun to chew and good for him.
Making them at home was surprisingly simple. With a few pantry ingredients, I could roll and twist the dough into shapes that lasted longer than regular biscuits. Watching my dog settle down with one of these chew twists felt like solving two problems at once—he stayed busy, and my furniture stayed safe.
If your dog has a strong chewing habit, these peanut butter pumpkin chew twists are worth trying. They’re a practical, tasty way to redirect that energy, and you’ll feel great knowing you’re giving them something homemade, healthy, and made with love.
Why Make a Peanut Butter Pumpkin Chew Twists Special Recipe for Your Dog
I used to think any store-bought chew was fine, but after a while, I noticed they didn’t always sit well with my dog. Some would cause an upset stomach, and others disappeared too quickly to actually satisfy his chewing habit. That’s when it clicked—dogs need chews that are both enjoyable and nourishing. By making these twists at home, you’re not just giving your dog something to munch on; you’re creating a treat that’s safe, healthy, and made to meet their needs.
Pumpkin is gentle on the stomach and supports digestion, while peanut butter adds protein and healthy fats to keep your dog energized. Together, they make a chewy, flavorful combo that dogs can’t resist. Unlike many commercial options, you’ll know exactly what’s inside—no hidden fillers or artificial flavors. That kind of control makes a big difference for dogs with sensitivities or for owners like us who just want the best for our pets.
The real benefit, though, is how these twists help redirect chewing behavior. Instead of shoes or table legs, your pup gets a satisfying, homemade treat that keeps them occupied. It’s a simple recipe, but it solves a real problem in a way that feels good for both of you.
Nutrient Breakdown for Peanut Butter Pumpkin Chew Twists
One of the best parts about these chew twists is knowing that every bite is doing something good for your dog. They’re not just a distraction or a quick snack—they actually deliver real nutrition.
Pumpkin is loaded with fiber, which helps regulate digestion and keeps your dog’s tummy happy. It also provides vitamins like A, C, and E, which support vision, immunity, and skin health. Peanut butter steps in as the protein powerhouse, offering healthy fats that keep your pup’s coat shiny and their energy steady.
The egg in the recipe ties everything together while adding an extra boost of protein and essential amino acids. If you’re using oat flour or whole wheat flour, you’re also giving your dog a good source of complex carbs and B vitamins. Even a small touch of oil (if included) adds healthy fats that support joint and brain health.
So, while your dog thinks they’re just enjoying a chewy, tasty twist, you’ll know they’re also getting nutrients that help them feel and stay their best. It’s the kind of treat that makes snack time feel like part of their care routine.
Ingredients for Peanut Butter Pumpkin Chew Twists
What I love most about making these twists at home is how simple the ingredient list is. Every item has a purpose, and you probably already have most of them in your kitchen. No fillers, no strange additives—just wholesome foods that come together to make a chewy, flavorful treat your dog will look forward to.
Here’s what you’ll need to get started:
1 cup pumpkin puree (plain, not the sweetened pie filling)
½ cup natural peanut butter (unsalted and xylitol-free)
1 large egg
2½ cups whole wheat flour (or oat flour for a gentler option)
1 tablespoon coconut oil (optional, for extra flavor and a smoother dough)
A splash of water (if needed, to adjust the consistency)
These simple ingredients blend together to make a dough that’s easy to roll and twist into fun shapes. And the best part? Each one adds its own nutritional benefits, so you know every bite is giving your pup something good.
Equipment You’ll Need
Before you dive into mixing and rolling, it helps to gather everything you’ll need so the process feels smooth and stress-free. I’ve found that when everything is ready on the counter, making these chew twists becomes less of a chore and more like a fun kitchen project.
Here’s what you’ll want to have on hand:
Mixing bowl – big enough to hold all your ingredients comfortably.
Wooden spoon or spatula – to stir the dough together.
Rolling pin – for flattening the dough before cutting and twisting.
Knife or pizza cutter – to slice the dough into strips.
Baking sheet – lined with parchment paper or a silicone mat for easy cleanup.
Cooling rack – to let the twists cool completely and firm up.
That’s it—no fancy gadgets required. With just these basics, you’ll be able to whip up a batch of chewy, homemade twists that your dog can enjoy in no time.
Step-by-Step Instructions: How to Make Peanut Butter Pumpkin Chew Twists
Once you’ve got your ingredients and tools ready, the fun part begins. These chew twists are simple to make, and shaping them into twists gives your dog something a little different from the usual cookie-style treats. Here’s how you can do it:
1. Preheat Your Oven
Start by preheating your oven to 325°F (163°C). Line a baking sheet with parchment paper or a silicone mat so your twists don’t stick.
2. Mix the Wet Ingredients
In a large bowl, combine the pumpkin puree, peanut butter, egg, and coconut oil (if you’re using it). Stir until everything is well blended and smooth.
3. Add the Dry Ingredients
Slowly add the flour to the wet mixture. Stir until a dough forms. If it feels too dry, add a splash of water. If it’s too sticky, sprinkle in a little more flour. The dough should be firm but easy to roll.
4. Roll and Cut the Dough
Lightly flour your work surface and roll out the dough to about ¼-inch thickness. Use a knife or pizza cutter to slice the dough into strips about ½ inch wide.
5. Shape into Twists
Take each strip and gently twist it from both ends, giving it that fun “chew twist” shape. Place them onto your prepared baking sheet, leaving a little space between each one.
6. Bake Until Firm
Bake the twists for 25–30 minutes, or until they’re golden brown and firm to the touch. For extra crunch, you can turn off the oven and let them sit inside for an additional 10 minutes.
7. Cool Before Serving
Transfer the twists to a cooling rack and let them cool completely. This step is important because cooling helps the treats firm up and gives your dog a safe texture to chew on.
Once they’re cooled, you’ll have a batch of chewy, homemade twists that smell amazing and are ready to make your pup’s day.
Serving & Storage
One of the nice things about these chew twists is that they can be adjusted to fit your dog’s size and needs. For small pups, you might want to make shorter, thinner twists so they’re easy to manage. Larger dogs can enjoy the full-sized versions without any trouble. As with any treat, moderation is key—these twists are meant to be a snack, not a meal replacement. A couple of twists a day is plenty for most dogs, depending on their size.
When it comes to storage, keeping them fresh is simple. Store the cooled twists in an airtight container at room temperature, and they’ll stay good for about a week. If you’ve made a bigger batch, you can freeze the extras in a freezer-safe bag or container. They’ll last for up to three months this way, and you can thaw out a few at a time whenever your pup is ready for a treat.
It’s such a good feeling knowing you’ve got a stash of healthy, homemade chews on hand—ready to go whenever your dog gives you that hopeful look.
FAQ: Peanut Butter Pumpkin Chew Twists for Dogs
1. Can dogs eat peanut butter safely?
Yes, dogs can eat peanut butter as long as it’s natural, unsalted, and free of xylitol, which is toxic to dogs.
2. Is pumpkin good for dogs?
Pumpkin is excellent for dogs—it’s full of fiber for healthy digestion and provides vitamins A, C, and E for overall wellness.
3. What type of flour is best for dog treats?
Whole wheat flour works well, but if your dog has grain sensitivities, oat flour or rice flour is a great substitute.
4. How many chew twists can I give my dog a day?
It depends on your dog’s size. Small dogs may only need one twist, while larger dogs can enjoy two or three. Treats should always be given in moderation.
5. Can I use canned pumpkin pie filling instead of pumpkin puree?
No, pumpkin pie filling contains sugar and spices that aren’t safe for dogs. Always use plain pumpkin puree.
6. How long do homemade chew twists last?
At room temperature, they stay fresh for about a week in an airtight container. For longer storage, freeze them for up to three months.
7. Do these chew twists replace brushing my dog’s teeth?
No, while they help keep dogs busy and can support oral health, they don’t replace regular brushing and dental checkups.
8. Can I add other ingredients to this recipe?
Yes, you can add safe extras like a pinch of cinnamon, flaxseed, or turmeric for added health benefits—just keep amounts small.
Final Thoughts
Making these Peanut Butter Pumpkin Chew Twists at home is such a rewarding way to show your pup a little extra love. You’re not just giving them a tasty snack—you’re making something with real, wholesome ingredients you can trust. Plus, the process is fun and simple, and your dog will definitely notice the effort when they get that first crunchy, chewy bite.
So the next time your furry friend gives you those big puppy eyes, you’ll know exactly what to do. Whip up a batch of these twists, watch their tail wag with excitement, and enjoy the peace of mind that comes with knowing you made something healthy, safe, and special—just for them.


